Deploy a smart contract on chainstack
In this article, we’ll host a node on chainstack and deploy our smart contract.


In this article, we’ll host a node on chainstack and deploy our smart contract. The contract that we’ll be deploying is the contract that we built here (feel free to look at it).
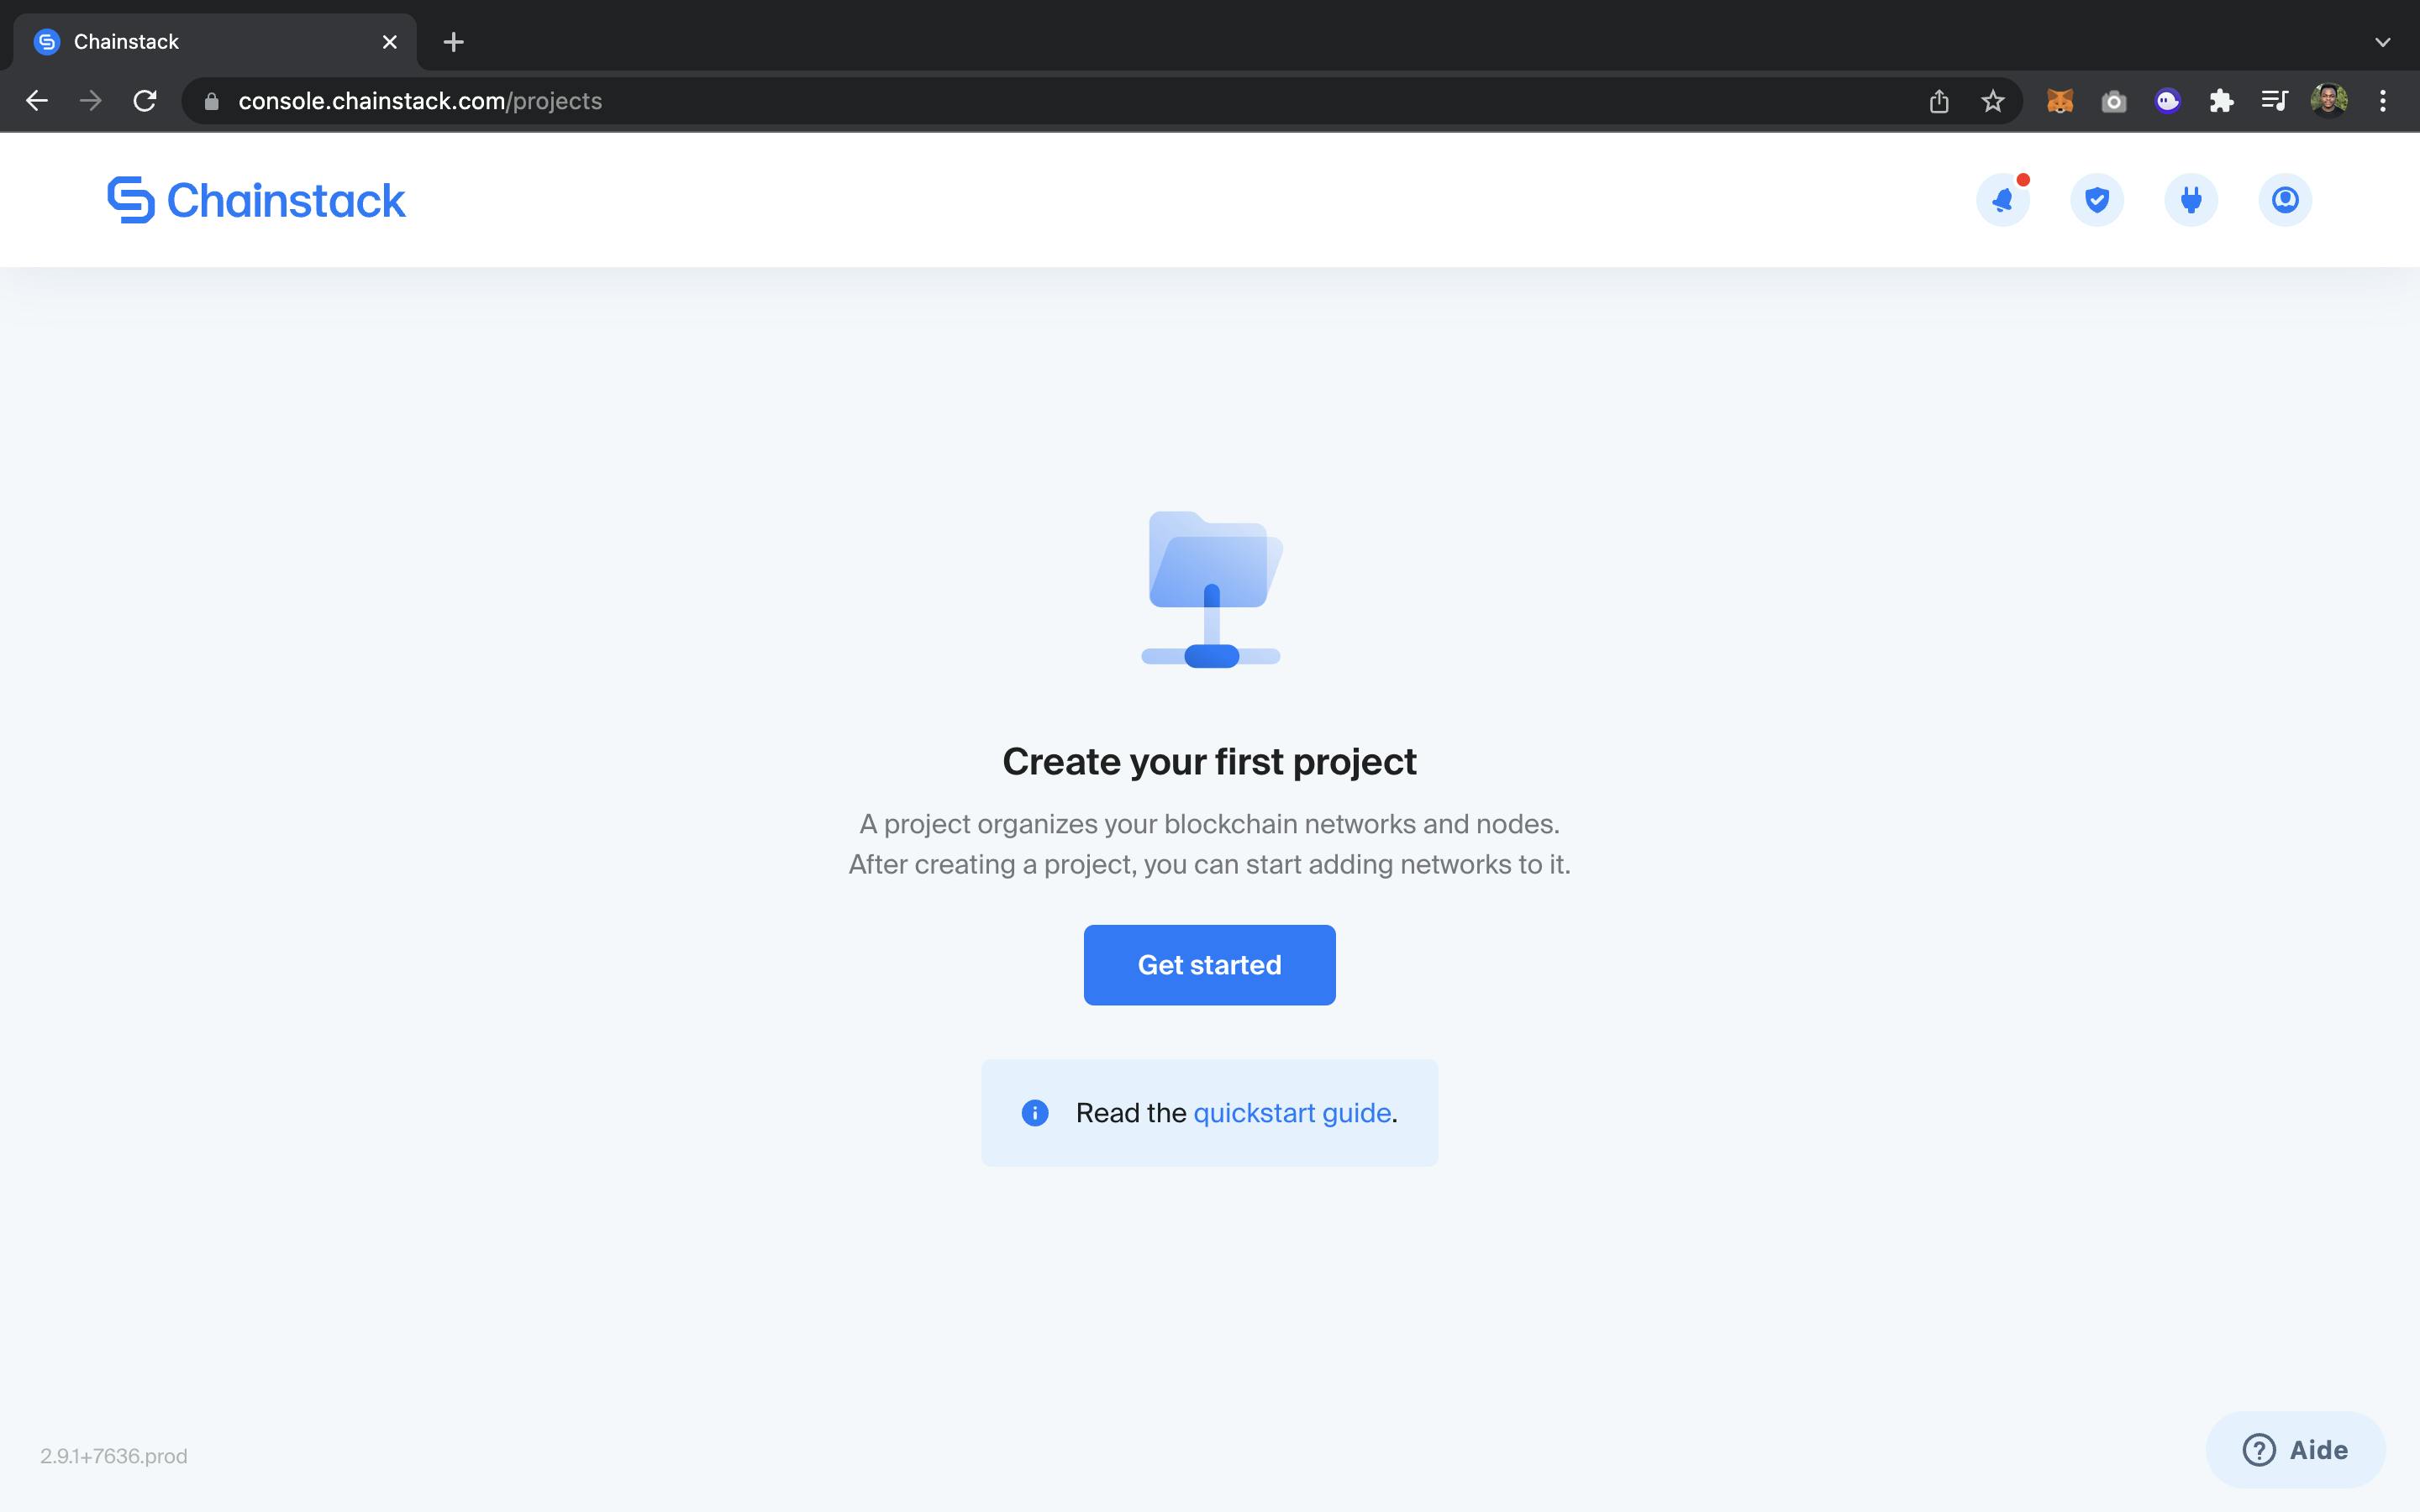
To get started, we’ll first create an account on chainstack. This process is pretty simple, all you need is to fill in your name and confirm your bank account number for billing(it is free if you are a developer and just testing). When that process is done, you should be able to see a similar screen to the one below.
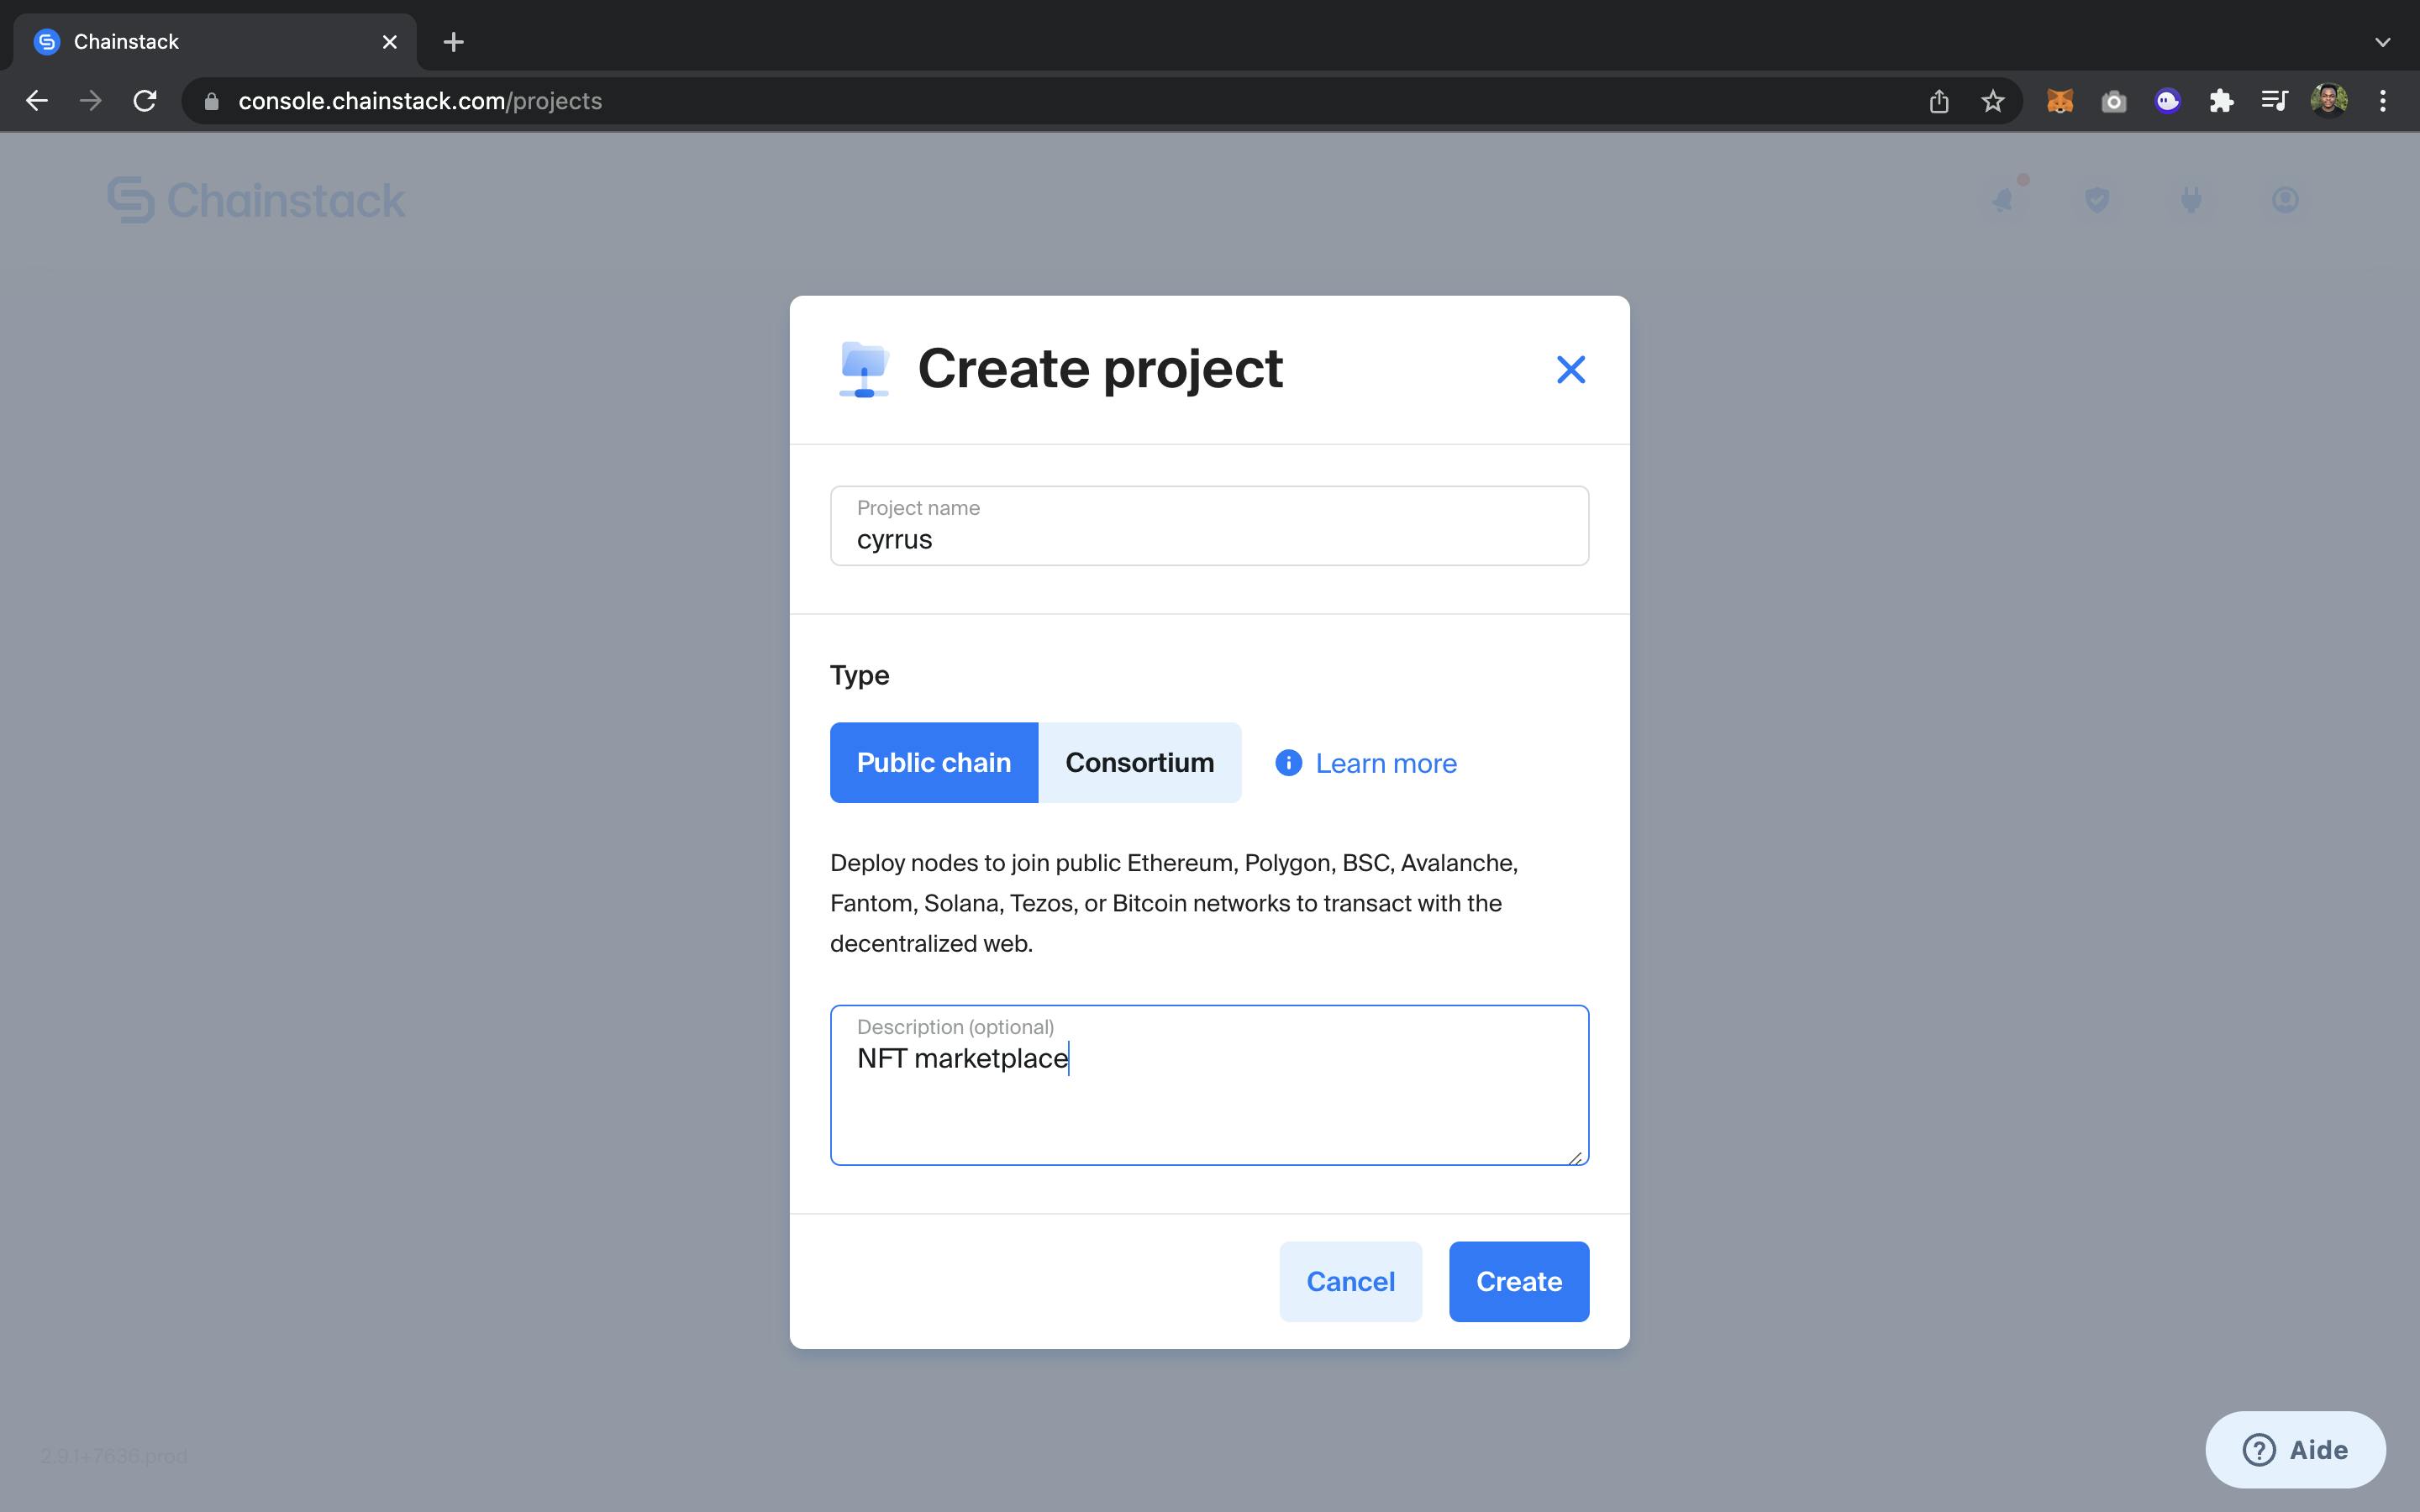
 All you need to do is to click on Get started. A screen will appear and you’ll be required to fill in information about your project, then click create.
 At this point, you should be able to see a new dashboard with your new project created. You can have as many projects as you need.
To navigate in your project, just click on your project card. A new screen will appear. Here is how it should look like.
At this point, you should be able to see a new dashboard with your new project created. You can have as many projects as you need.
To navigate in your project, just click on your project card. A new screen will appear. Here is how it should look like.
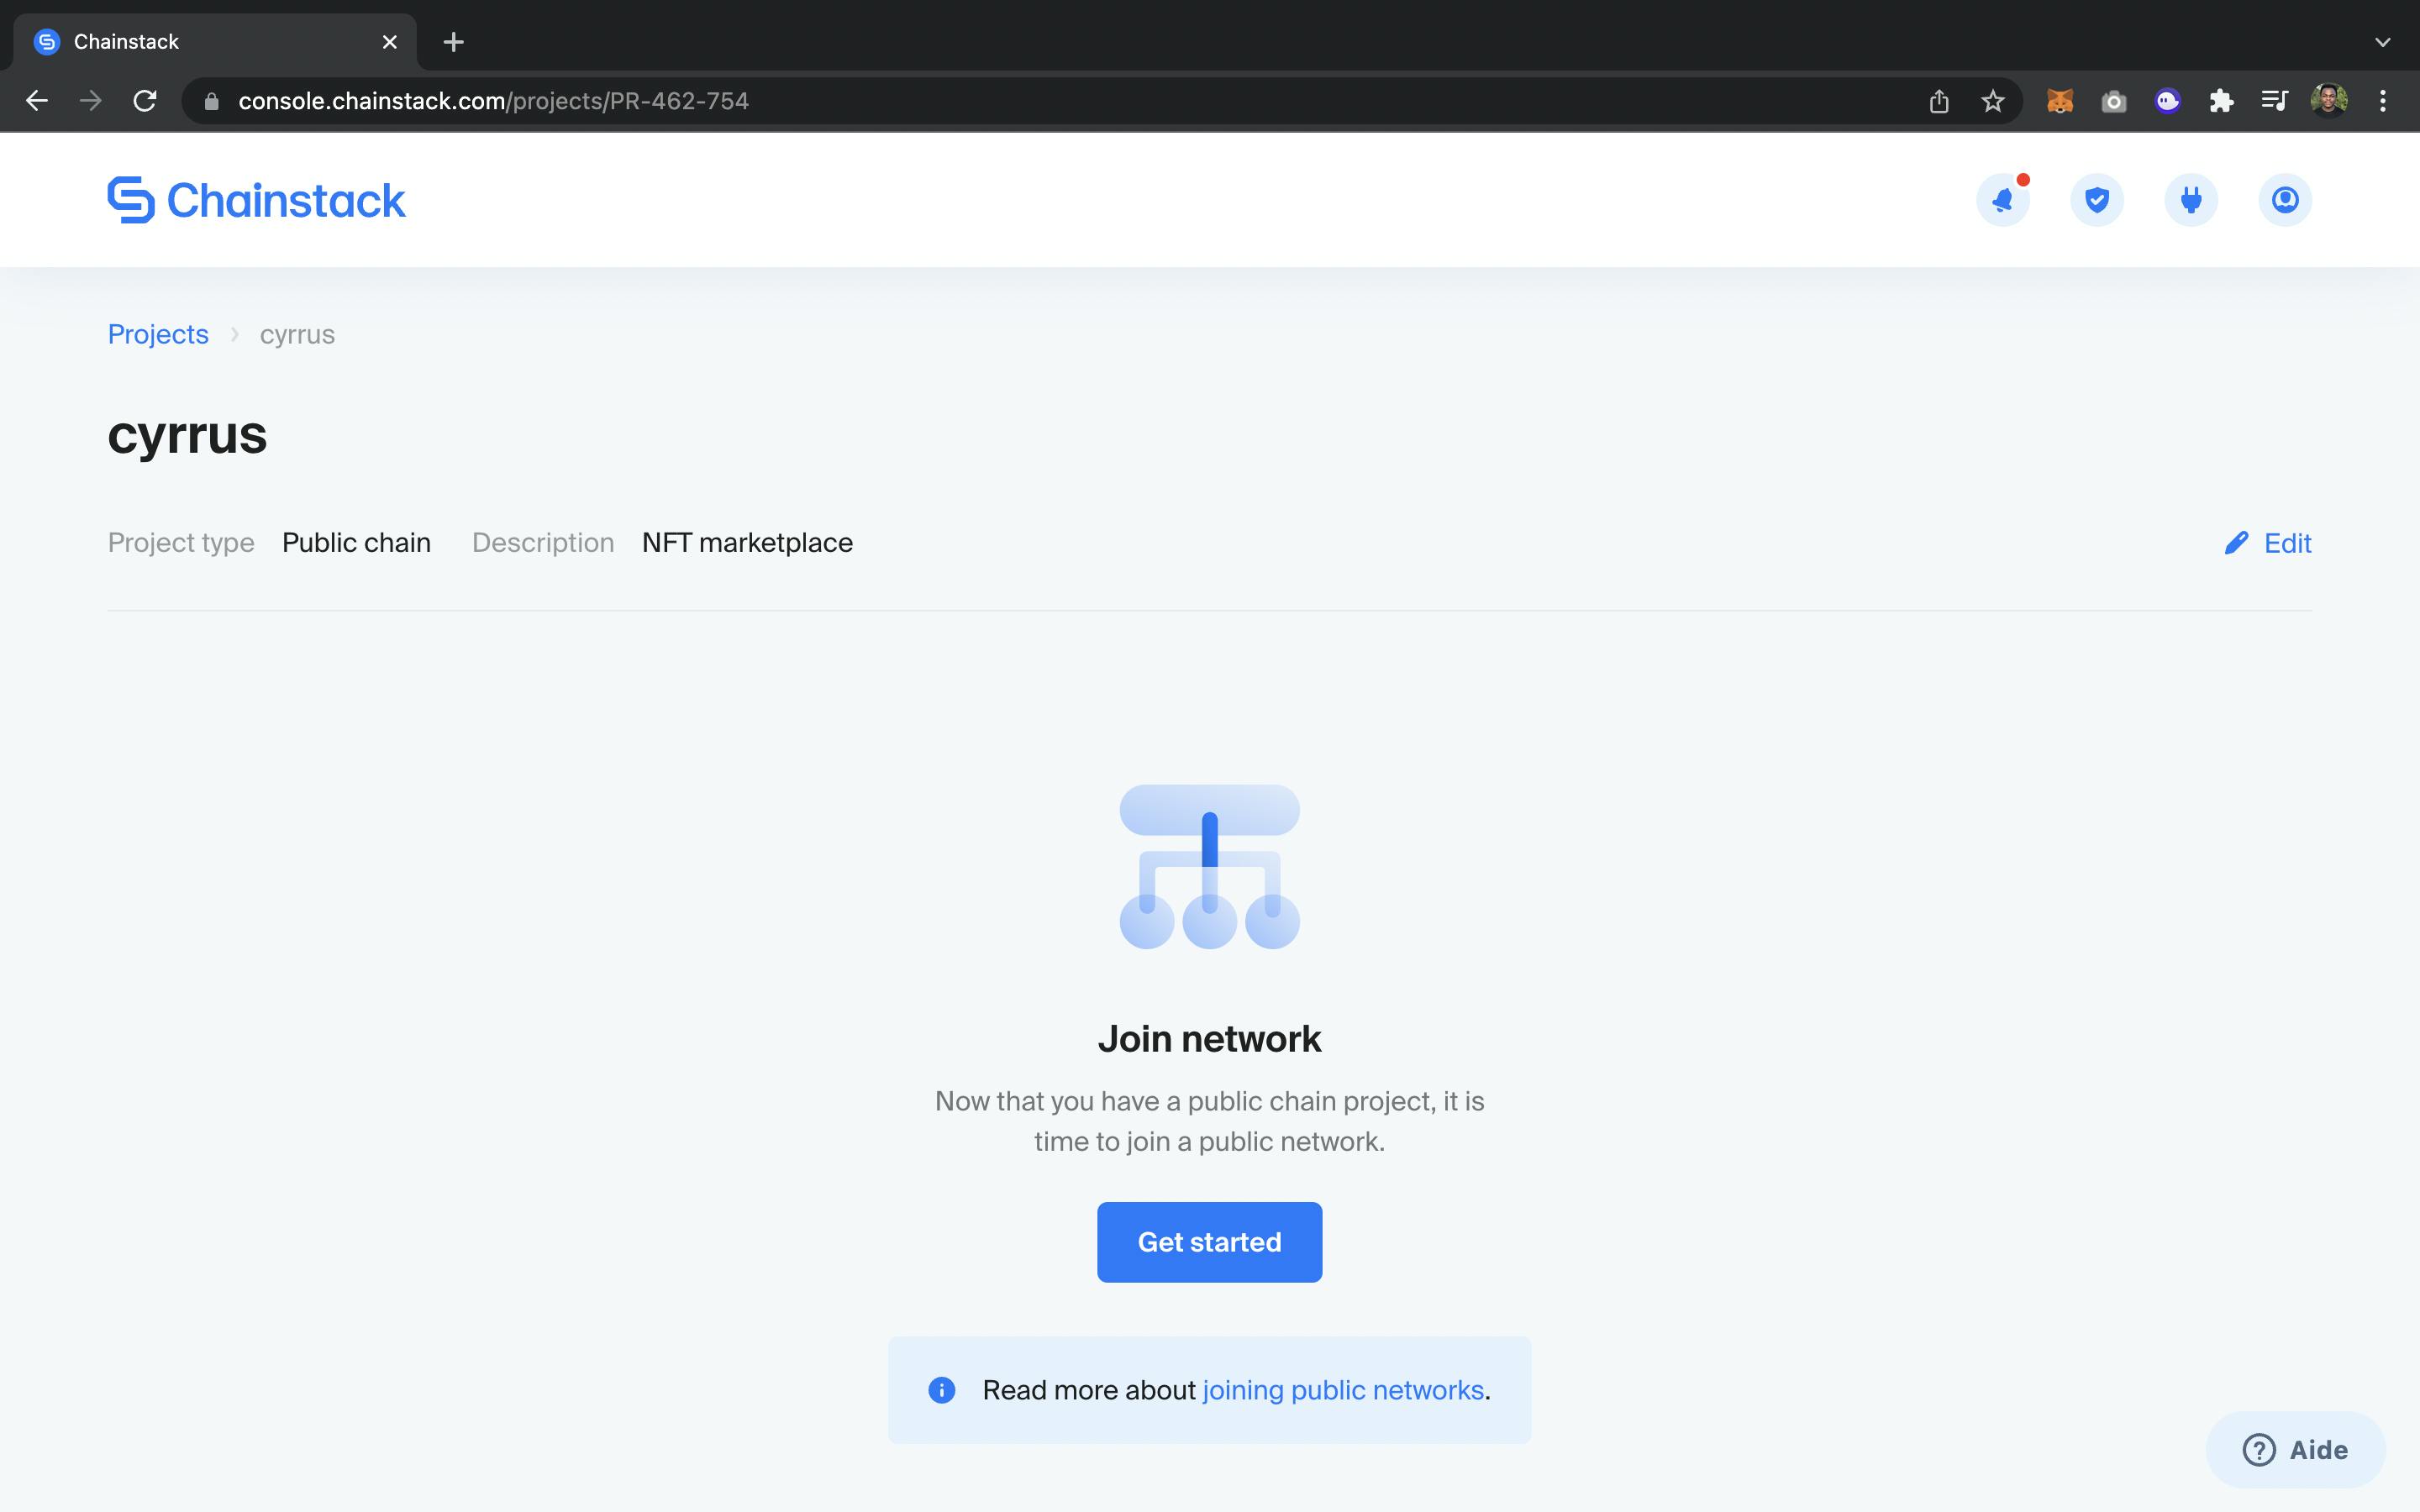 As shown above, it’s now time to join the network.
To do so, you should:
As shown above, it’s now time to join the network.
To do so, you should:
- Click on Get started
- Click on the dropdown labeled Blockchain protocol. A dropdown will appear and will allow you to choose the blockchain that you want to interact with or your node to interact with.
- A new card labeled Network will appear. When you click on that card, you’ll be able to choose between the mainnet or testnet network. When that’s done, click next.
- Another screen will appear where you’ll have to do more configuration according to your preferences and needs.On that screen by default, Type will be set to –Shared–, Hosting will be set to ChainStack. Those can be left the way they are.
- For the Cloud Provider, we’ll choose an option from the dropdown.
Last but not least, we’ll give our node a name or leave it to the default name (Node-1). Once again, we’ll click NEXT to continue. The screen that will appear in this case, is the summary of all our choices. This is how it should look like
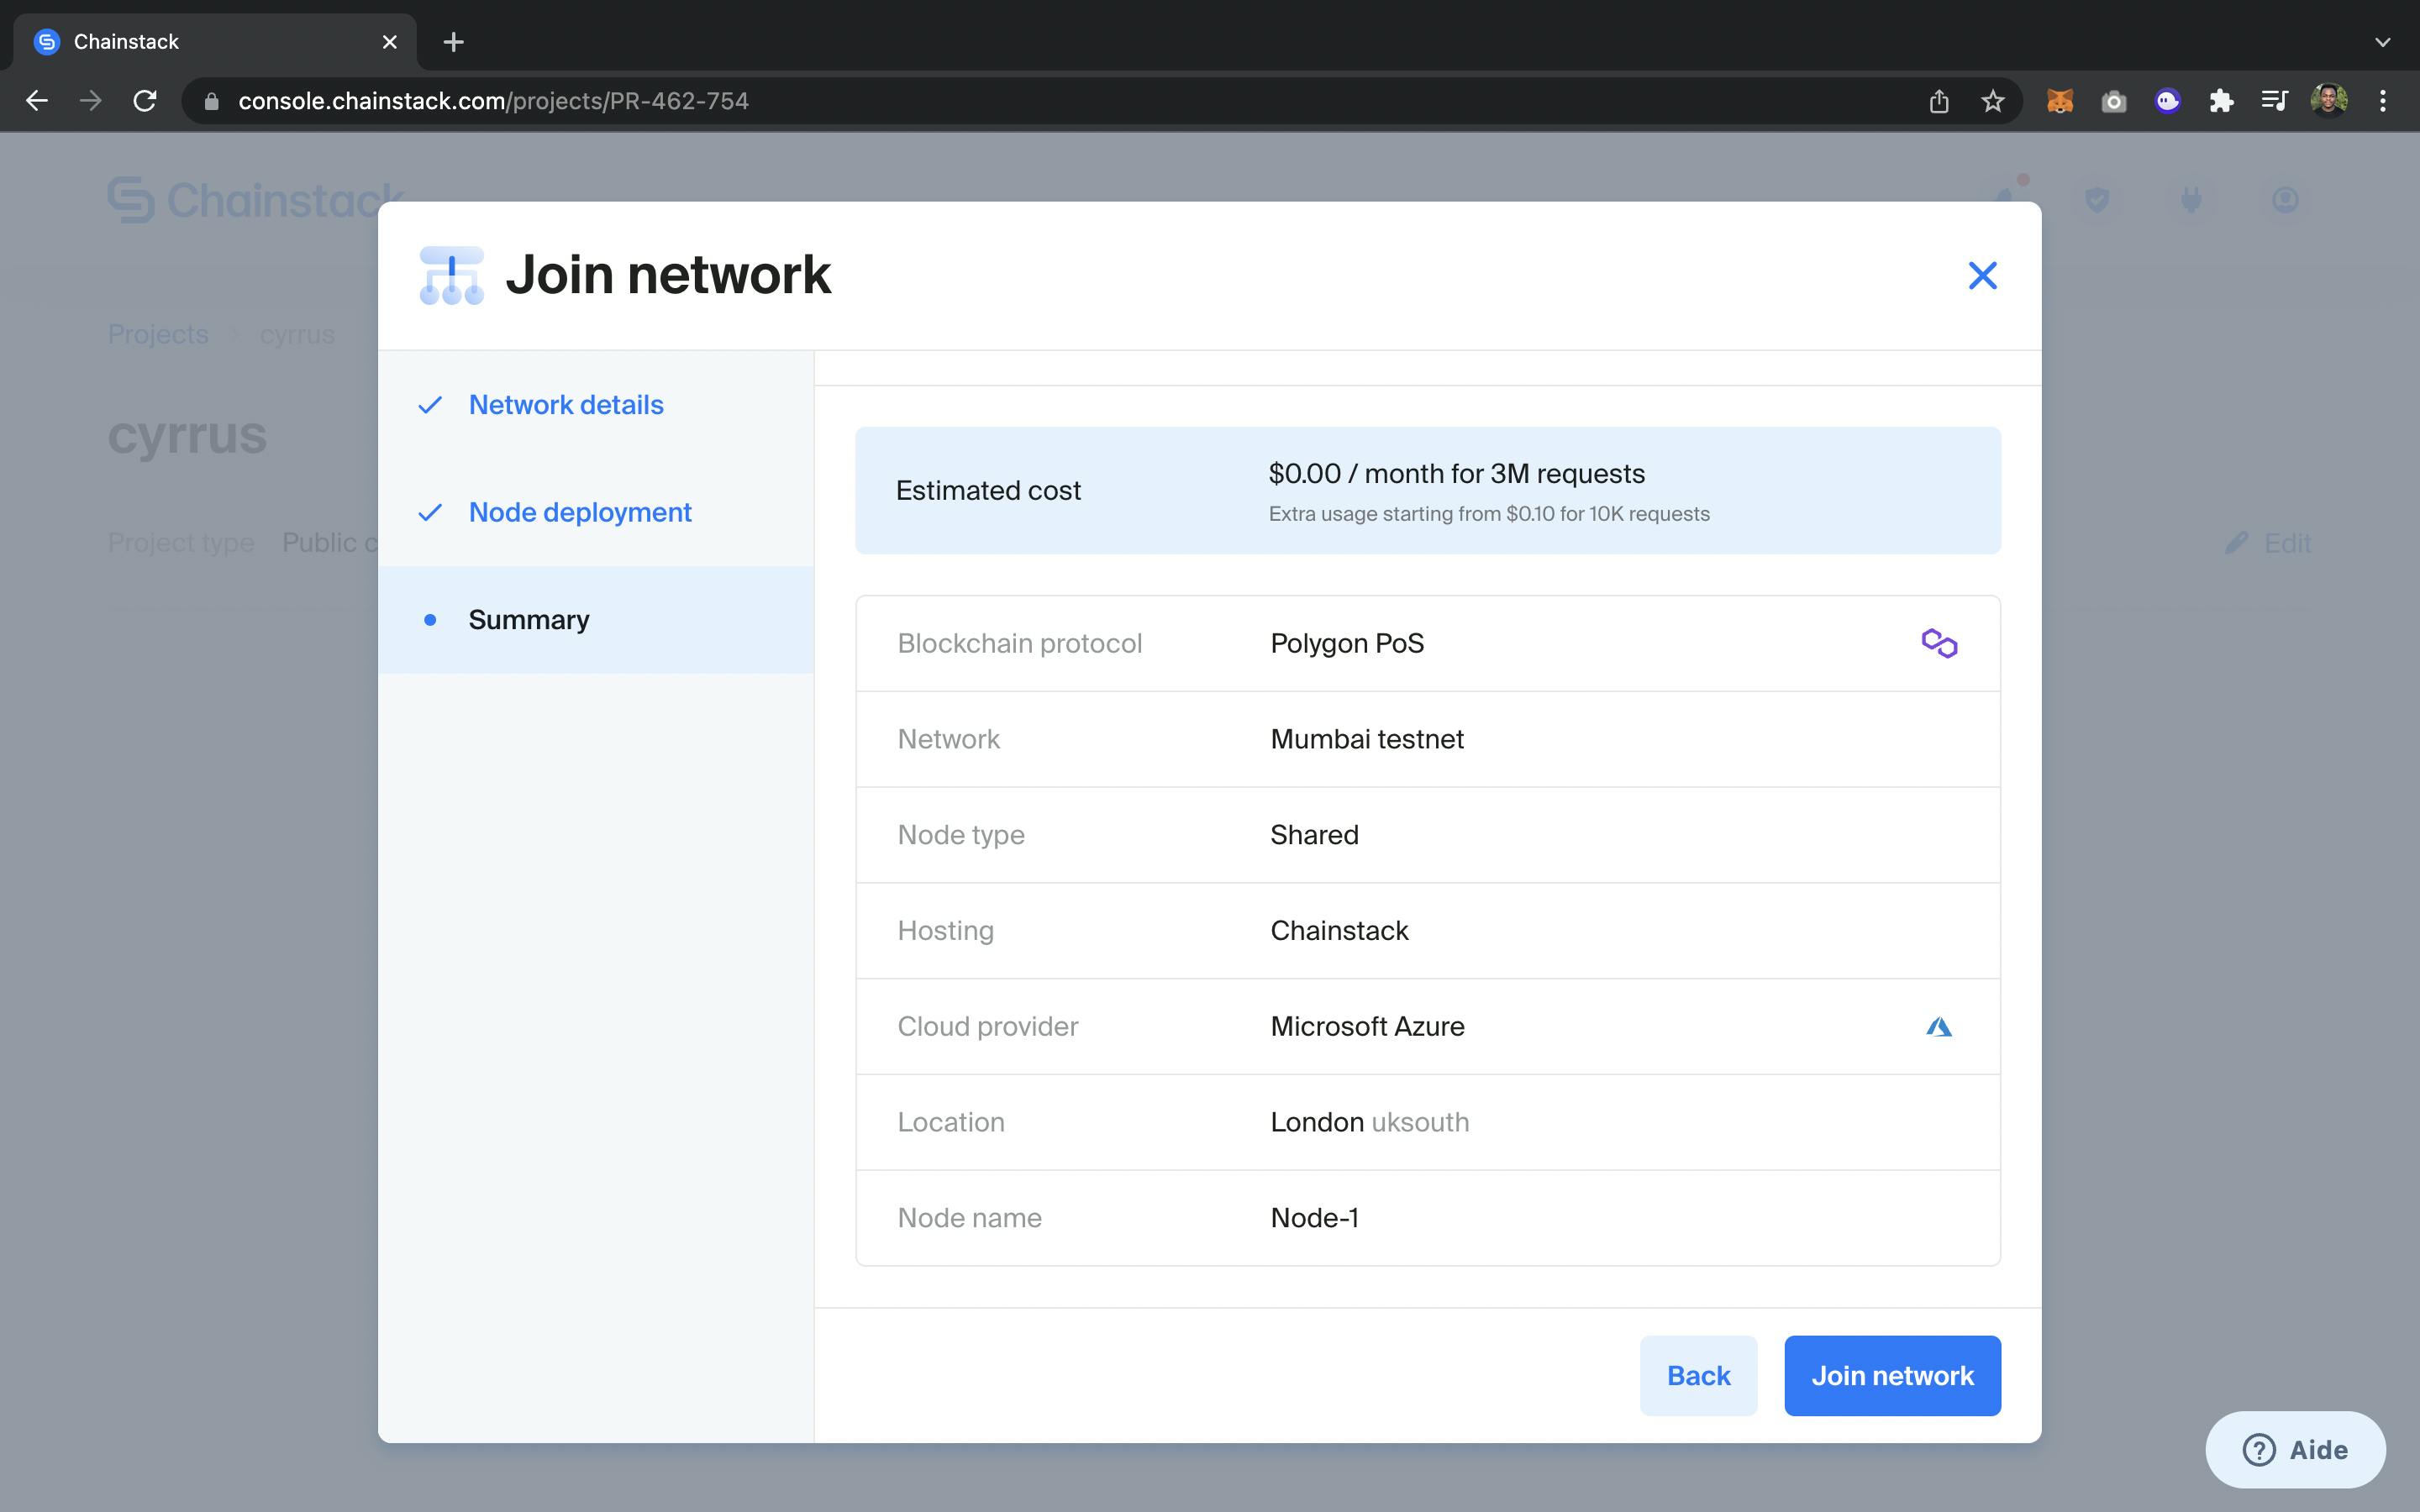 The purpose of this is to confirm(double-check) that all your choices are correct in the way that you wanted them.
After double-checking that everything is correct, just click Join Network and your project creation should start . This might take several seconds.
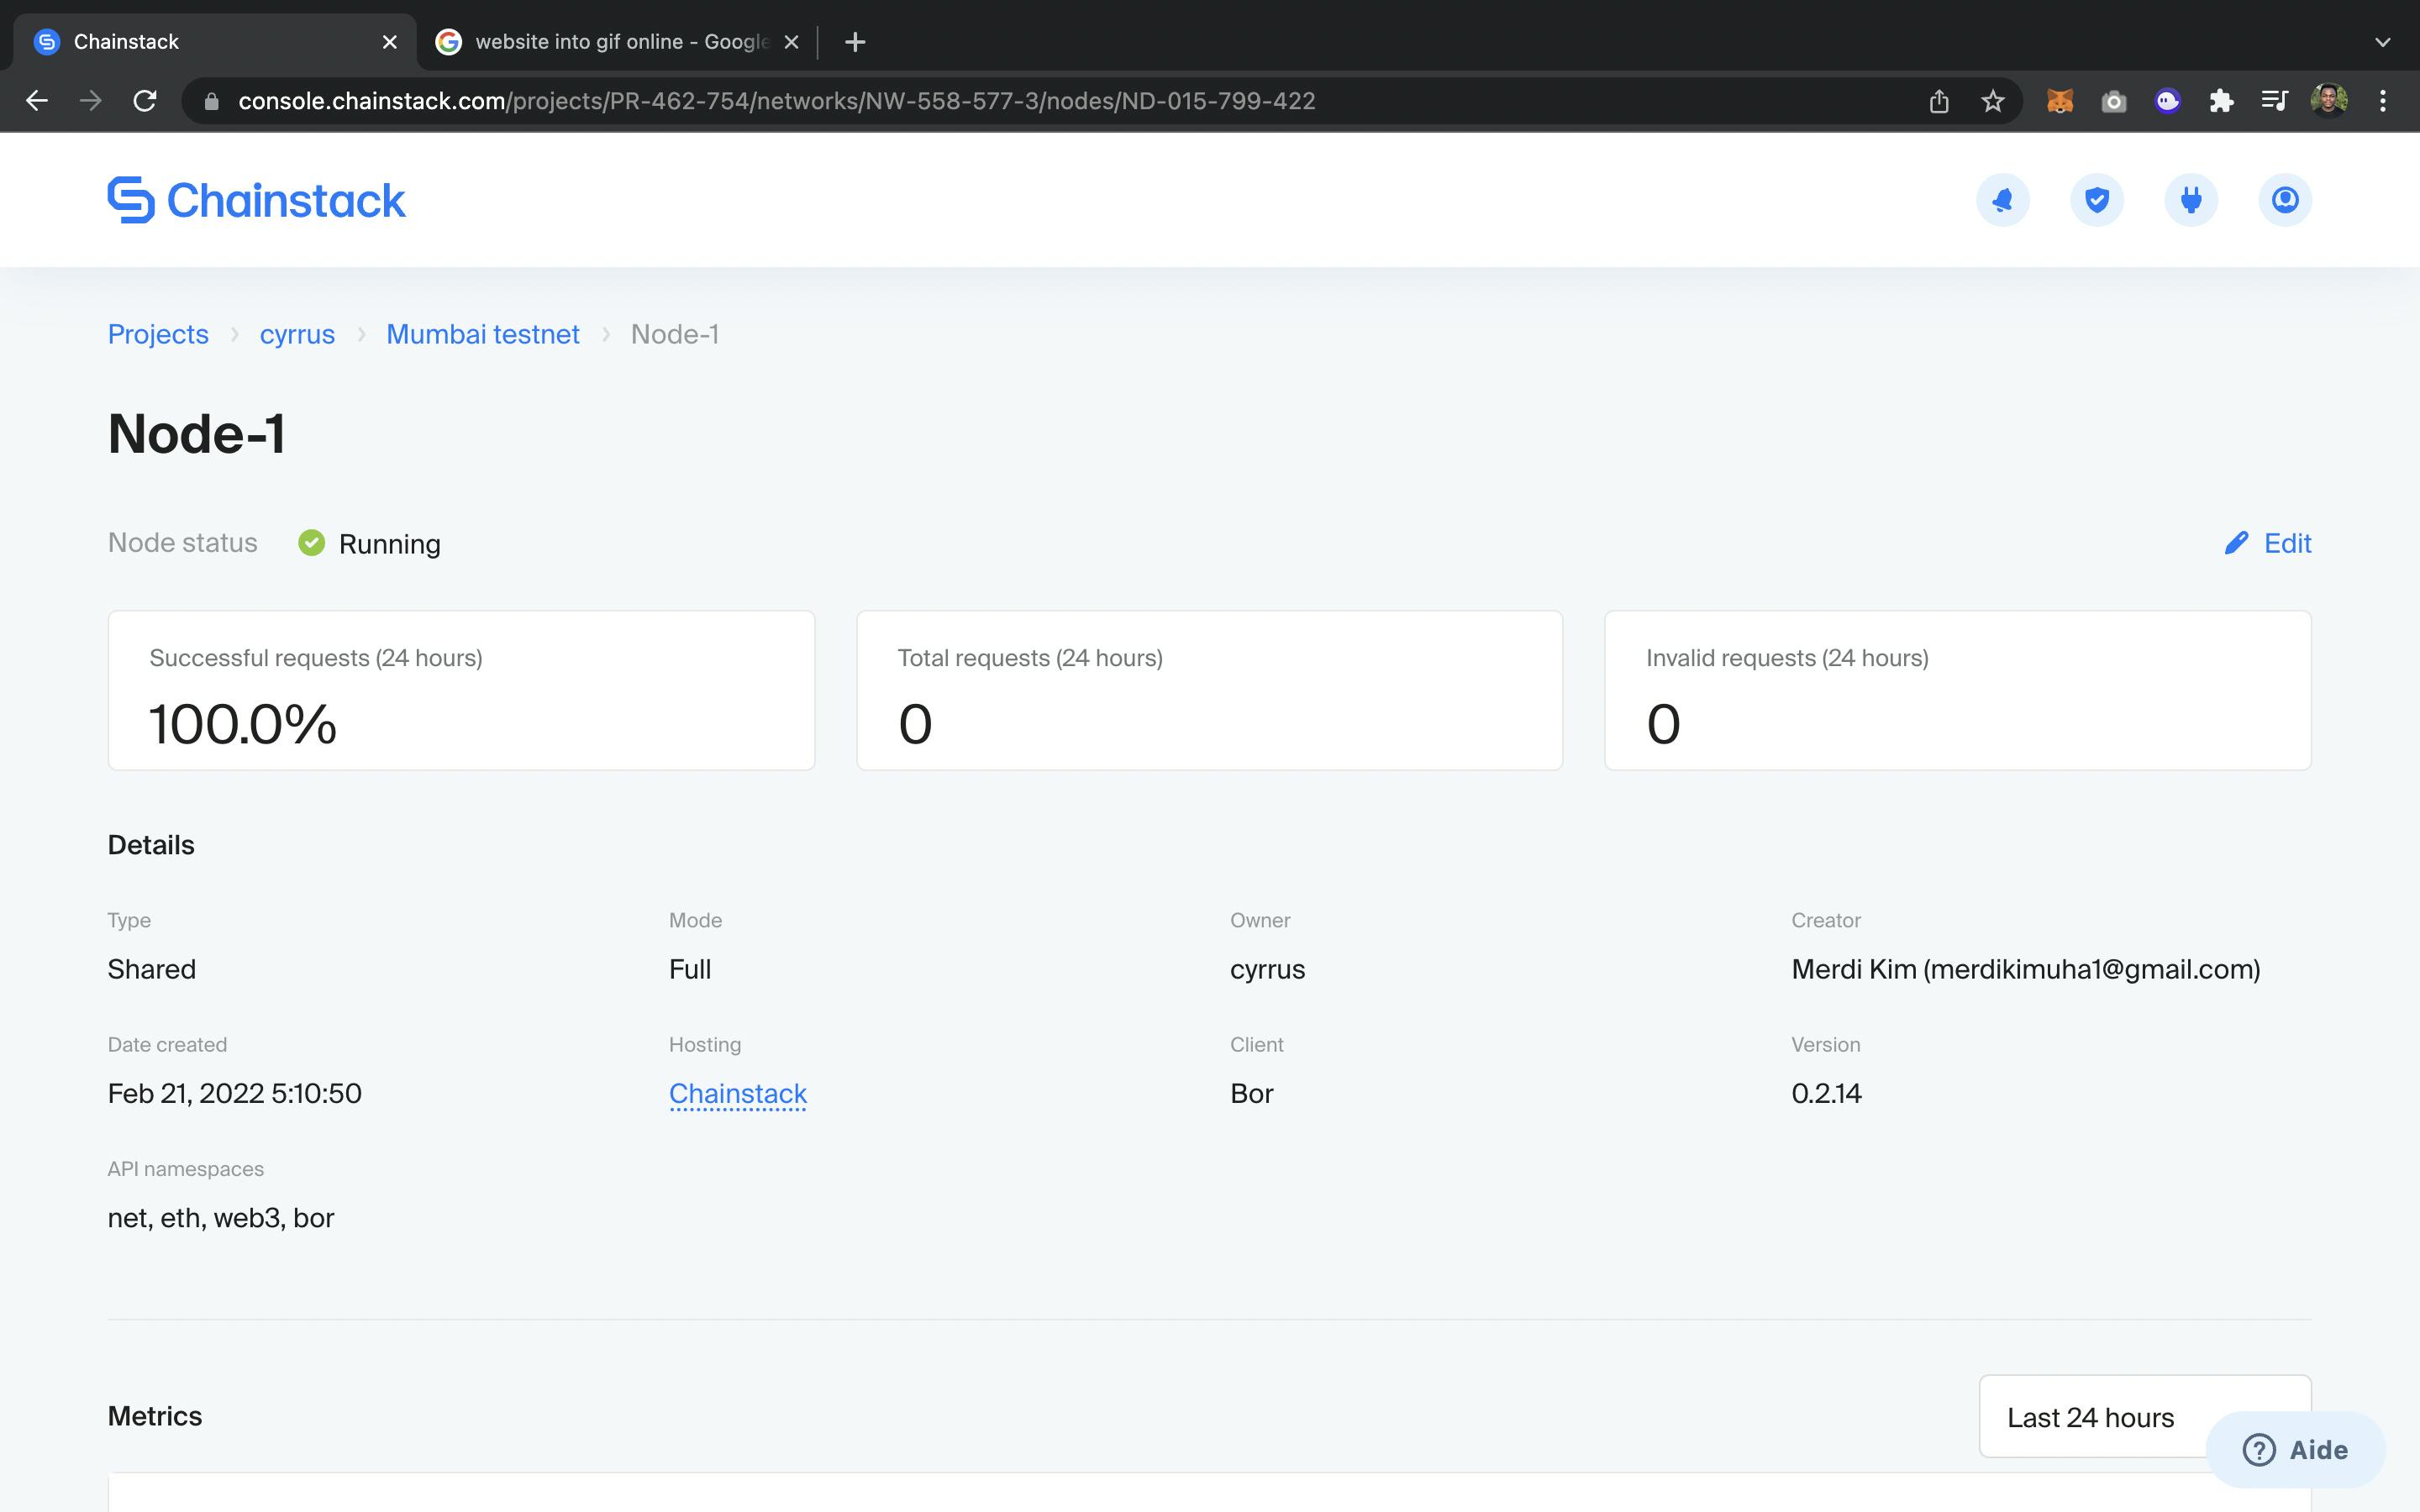
When that’s done, your project status should change from Pending to Running.
To navigate to our node dashboard, we’ll need to click on our node name (in this case Node-1 or any other node name that you gave to your node). A new dashboard will appear that contains all your node’s details, metrics, endpoints and credentials. Here is how it should be. The image below shows only the details part. To see the rest, you’ll need to scroll on your dashboard.
The purpose of this is to confirm(double-check) that all your choices are correct in the way that you wanted them.
After double-checking that everything is correct, just click Join Network and your project creation should start . This might take several seconds.
When that’s done, your project status should change from Pending to Running.
To navigate to our node dashboard, we’ll need to click on our node name (in this case Node-1 or any other node name that you gave to your node). A new dashboard will appear that contains all your node’s details, metrics, endpoints and credentials. Here is how it should be. The image below shows only the details part. To see the rest, you’ll need to scroll on your dashboard.
Now that our project is set and running, we’ll have to deploy our smart contract to our remote node. For that, we’ll first grab our endpoint from the dashboard. All you need is to scroll to the bottom of your dashboard and look for HTTPS endpoint just located under Access and credentials. Copy that link and now let’s go to our nft marketplace smart contract. First, let’s create a file called secret on the root of our project i.e on the same level with package.json. This file should be added to .gitignore because it will contain the private key of the account that will deploy the contract and we never want to push that file to GitHub for security purposes. After creating the file, paste your metamask account private key in that file and close it. Now open your hardhat.config.js file and paste in the following code
const fs = require(“fs”)
const privateKey = fs.readFileSync(“secret”).toString()
Inside of the same file you should see:
module.exports = {
    solidity:”0.8.4”
}
Let’s now add mumbai testnet(polygon testnet) to this file.
module.exports = {
    solidity:”0.8.4”,
    mumbai: {
        url:”https://nd-015-799-422.p2pify.com/adbb53bbc89723256c7728af8e77853b”,   //chainstack endpoint
        accounts:[`0x${privateKey}`]
    }

}
Now we need to go to our terminal in order to deploy our contract. In order for this to be successful, you need to possess some crypto currencies and make sure you are in the right directory. If you don't have test MATIC, now worries. Go to this faucet and get some.
Now back to the terminal.
To deploy the contract, type the following in your terminal
npx hardhat run scripts/deploy.js –network mumbai
This process takes a couple of seconds or several minutes depending on the network and network activity. When the deployment process is done, in the case of our smart contract, you should see two addresses logged in the terminal.
If you saw two addresses logged in the console, congratulations !! You can now interact with your smart contract and your chainstack node. Now it is time to create your own projects and host them on chainstack.
In case of any challenge or suggestion , feel free to leave that in the comments below or you can reach out on twitter( @KimMerdi )